You’ve found the perfect apothecary cabinet online. It’s gorgeous, it’s on sale, and your finger is hovering over the ‘buy’ button. But a nagging voice whispers: “Will it actually fit?”
We’ve all heard the horror stories (or lived them): the majestic sectional that becomes a permanent hallway fixture, the dining table that leaves no room for chairs, the dresser that blocks the closet door.
The difference between a dream layout and a costly mistake isn’t luck—it’s a tape measure. This guide will walk you through the simple, essential process of measuring your room like a pro, so you can shop with absolute confidence.
Your Measuring Toolkit: Gather These First
You don’t need fancy equipment, just a few key items:
A Metal Tape Measure: A 25-foot retractable one is ideal. Avoid cloth sewing tapes—they can stretch and sag.
Graph Paper & a Pencil: For your floor plan sketch. (A digital app like Room Planner or MagicPlan works too!).
A Laser Measure (Optional): A fantastic time-saver for large rooms and tricky diagonal measurements.
A Notepad or Your Phone: To record every number in one place.
A Level (Optional): Handy for checking if floors or walls are truly square.
Painter’s Tape: Your secret weapon for visualizing size.
The Step-by-Step Measuring Process
Step 1: Become a Room Detective
First, capture the raw dimensions of the space.
Length & Width: Measure each wall at the floor level. For older homes, measure at chair-rail height (about 3 feet up) as well, in case walls bow in or out.
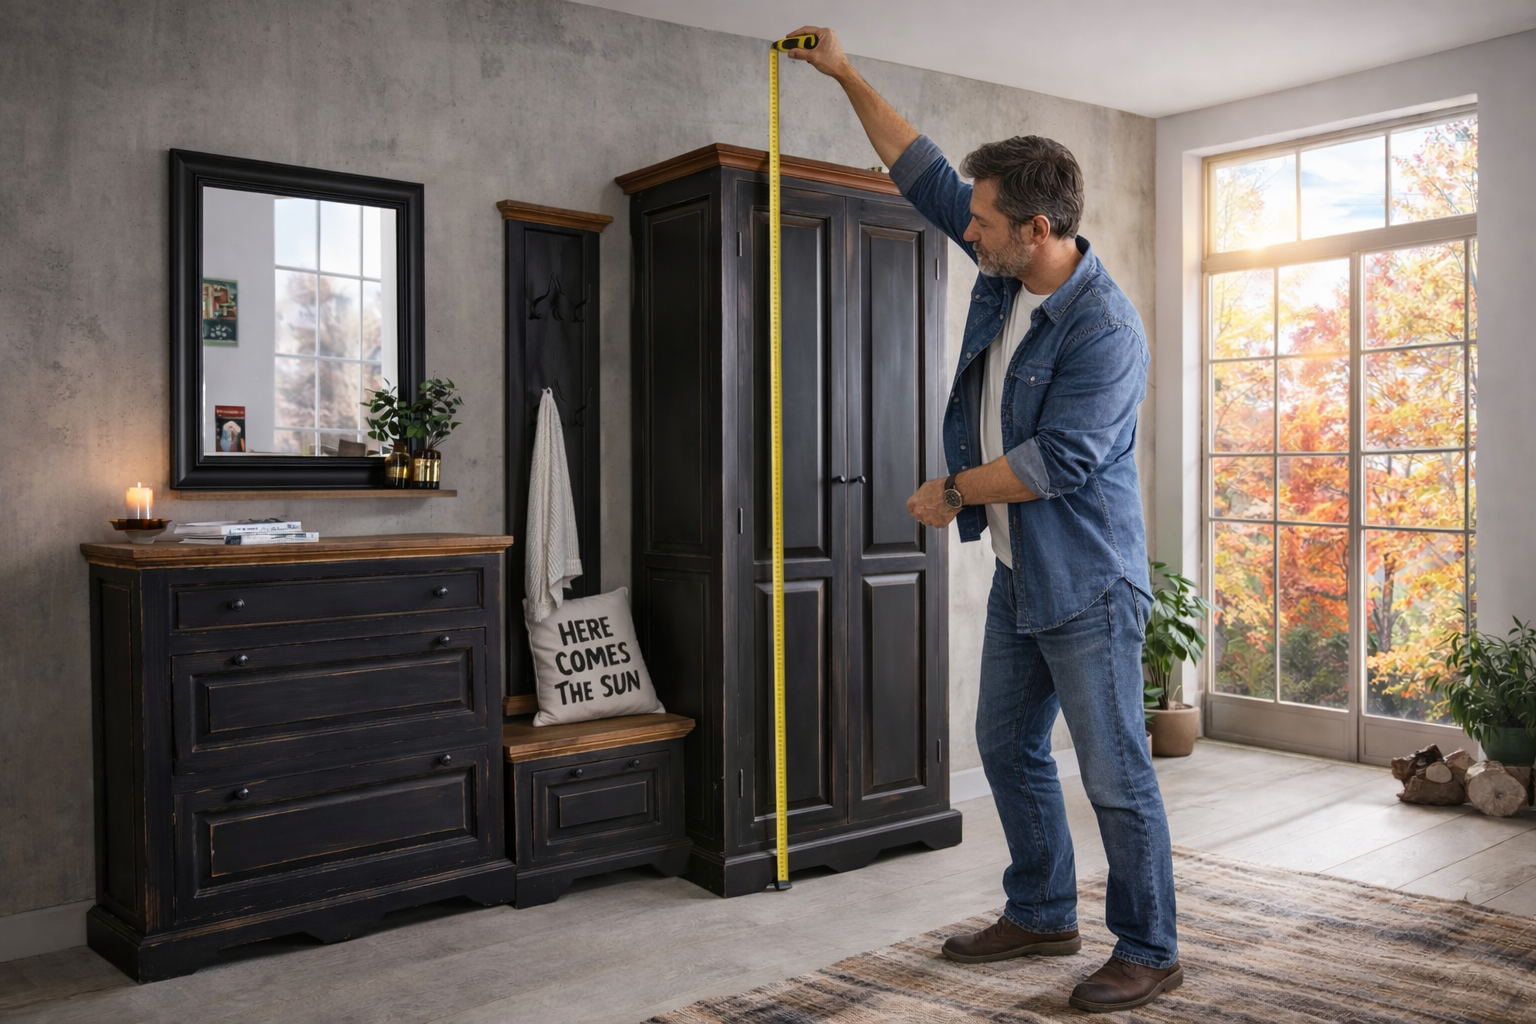
Height: Measure from the floor to the ceiling in a few spots.
Map the Obstacles: This is crucial. For each, note its width, height, and its distance from the nearest corner/wall.
Doors & Windows: Include trim. Note which way doors swing.
Permanent Features: Fireplace, radiators, air vents, thermostats, light switches, and outlets.
Architectural Details: Columns, built-in shelves, or awkward nooks.
Step 2: Sketch Your Floor Plan
Time to make a map. On your graph paper, draw the room’s outline (let one square equal one foot). Mark all your obstacles from Step 1.
Now, draw arrows showing the main traffic flow paths—the routes you walk through the room. Experts recommend keeping major pathways at least 36 inches wide, and less-used ones 24 inches wide.
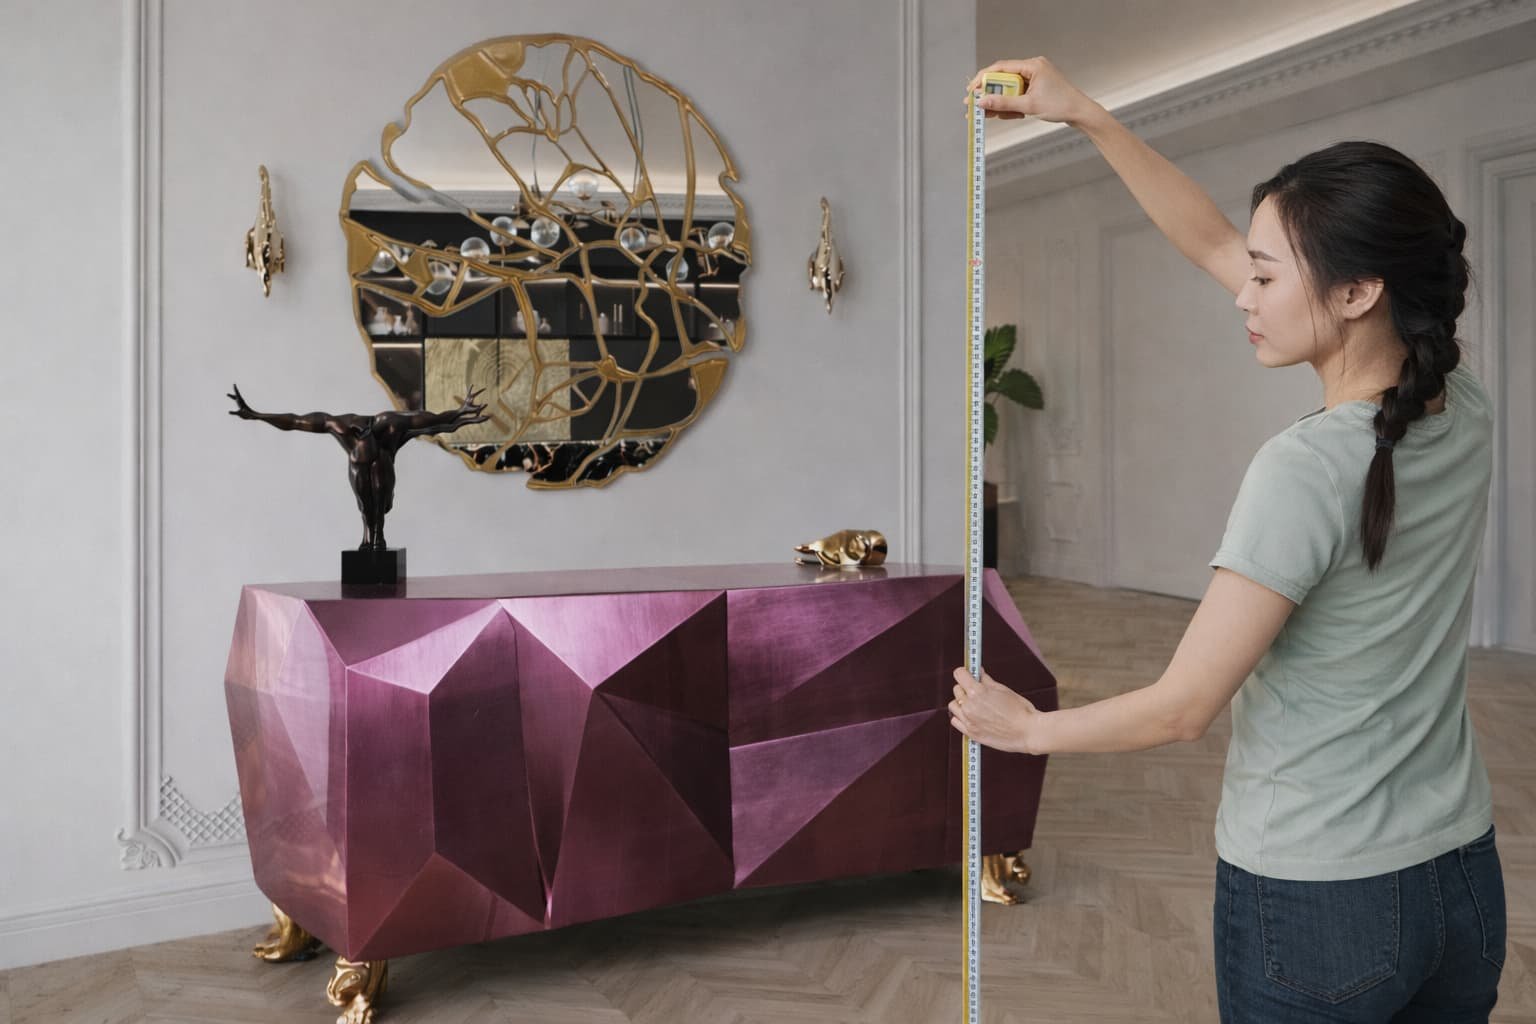
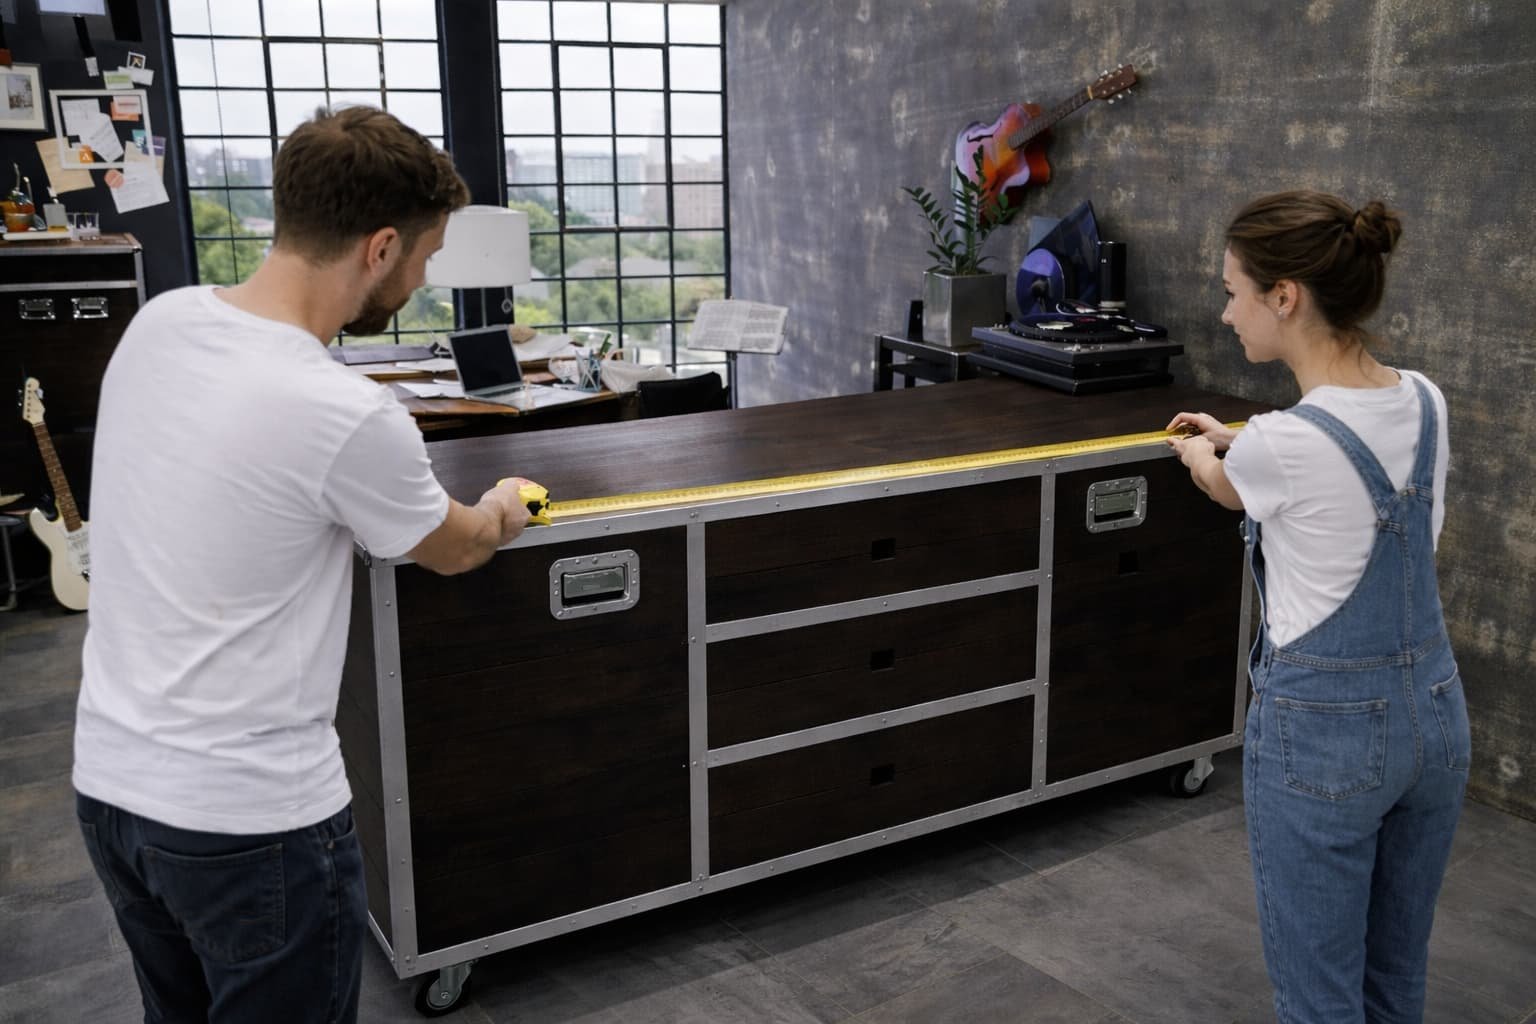
If you’re keeping your side table or bookshelf, measure it (Width x Depth x Height) and add it to your sketch. You can cut out paper shapes to scale or add them digitally. This shows you the actual free space you have to work with.
Step 4: Measure FOR the New Piece (The Golden Rule)
This is the mindset shift: Don’t just measure the room; measure the specific space the new furniture will occupy.
For a Sofa: You have a 120-inch wall. The sofa itself can be 90 inches, but you need to plan for that 90 inches within the wall space, considering floor vents, outlets, or adjacent walkways.
Clearance is King: Furniture needs breathing room.
In front of drawers/closets: Allow at least 24 inches for opening and standing.
Coffee table to sofa: A comfortable reach is 12-18 inches.
Around a dining table: Leave 36-44 inches between the table edge and wall for pulling out chairs.
Bedside: Ensure enough space for nightstands and opening their drawers.
Step 5: The Delivery Path – The Most-Forgotten Step
You could have a room that fits a sofa perfectly, but if it can’t get into the room, you’re stuck. Measure the entire journey from the front door to its final spot:
All Doorways & Stairs: Height and width (including the front door, interior doors, and stairwells).
Hallways & Tight Corners: Can a long piece pivot around that bend?
Elevators (for apartments): Don’t forget the interior cabin size.
👉 Pro Tip: The Diagonal Depth Demon
For large items like sectionals, the diagonal depth (from the front bottom corner to the back top corner) often gets stuck in doorways. Always check this measurement for bulky pieces.
Pro Tips & Common Pitfalls to Avoid
Measure Twice, Order Once: It’s the oldest rule for a reason. Double-check every number.
Think in 3D: Consider height. Will that tall bookcase block a light switch, thermostat, or window?
Use the Painter’s Tape Trick: Outline the furniture’s exact footprint on the floor. “Live” with the taped shape for a day to test the flow.
Respect the Light: Avoid placing tall furniture in front of windows. You’ll block precious natural light.
Mind the Scale: A massive, overstuffed sectional can overwhelm a small room. Let the room’s proportions guide your choices.
Your Pre-Purchase Checklist (The Final Test!)
Before you click “checkout,” run through this list:
[ ] I have measured the room’s length, width, and height.
[ ] I have mapped all doors, windows, outlets, and permanent features on my sketch.
[ ] I have noted the main traffic paths (36-inch minimum).
[ ] I have measured my existing furniture and added it to the plan.
[ ] I have compared the new furniture’s dimensions to my planned space on the sketch.
[ ] I have calculated necessary clearances for walking, sitting, and opening.
[ ] CRITICAL: I have measured the entire delivery path (hallways, stairs, doorways).
[ ] I have used painter’s tape on the floor to visualize the new piece’s size.
Conclusion: Your Blueprint for Confidence
Taking 30 minutes to measure precisely is the single best investment you can make in your space. It transforms furniture shopping from a gamble into an empowered, creative process. You’ll no longer have to wonder “if it will fit”—you’ll know.
Now you’re ready. Happy decorating!
Got a measuring horror story or a pro tip of your own? Share it in the comments below—let’s learn from each other!